
In this tutorial I show you how to texture and light an alternative version of Iron Man using Element 3D.
What you’ll need for this Element 3D tutorial:
Step 1
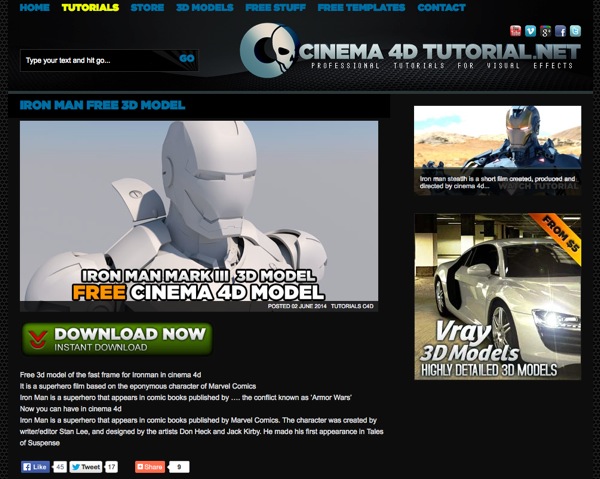
Download the free Iron Man 3D model from the very generous guys at cinema4dtutorial.net.
Step 2
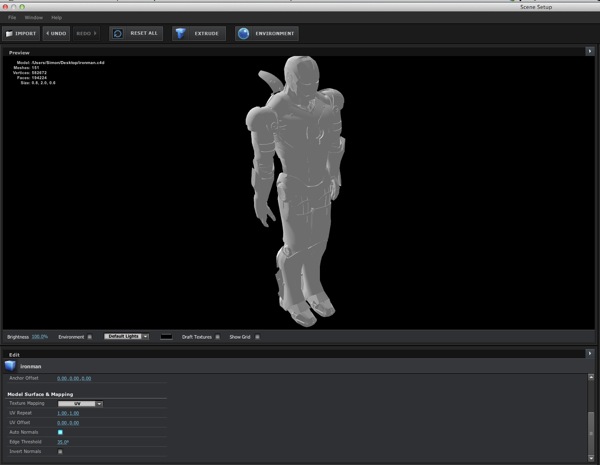
Open After Effects and import the model into Element 3D. Even though the model is in CINEMA 4D format, Element 3D will still import it. Make sure the ‘Auto Normals’ box is lit.
Step 3
Begin adding materials to the material slots that are automatically created when you imported the model. I used a number of metal textures from the Element 3D Pro Shaders Pack, along with a highly reflective white and black material for the main head and body parts. I also created an illuminated red material for the eyes.

Step 4
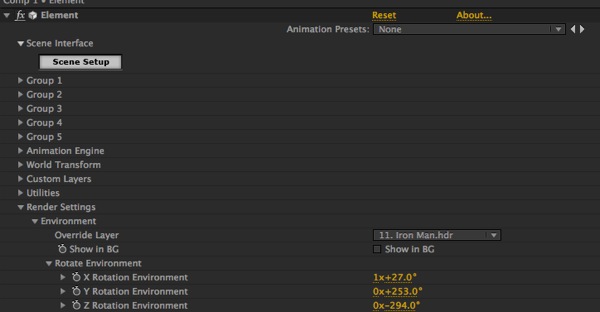
After adding the model into the scene, I changed the Environment Layer to a different HDRI which gave more interesting reflections. You can find a number of different open source HDR environment images to experiment with over at openfootage.net.
Step 5
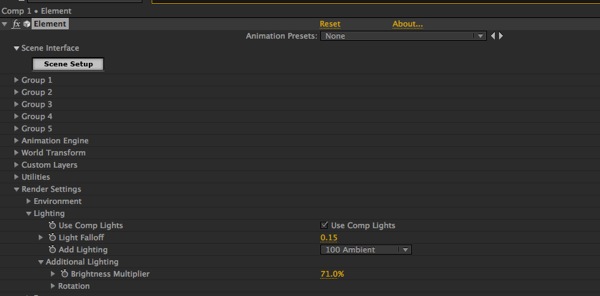
Add lights into the scene. I set the Element 3D lighting to the 100 Ambient preset. I then added a Parallel light pointing upwards to add interesting specular highlights and a Point light with a slight blue tinge to act as a rim light. Again experiment with different lighting positions to create alternative looks.
Step 6
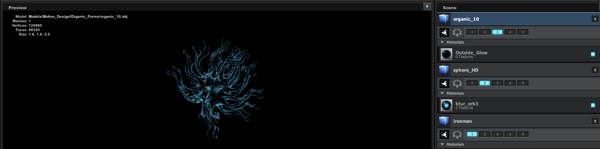
To create the centre chest orb, I added a HD sphere from the Primitive Models that ship with Element 3D and put it on Group 2. I lowered the opacity of the sphere so that I could add extra elements into it for more visual interest. Inside the sphere I added an organic model from the Motion Design Pack into Group 3 and a circular flare from Video Copilot’s Optical Flares. I then spent some time on positioning the sphere and the other elements inside the chest cavity.
Step 7
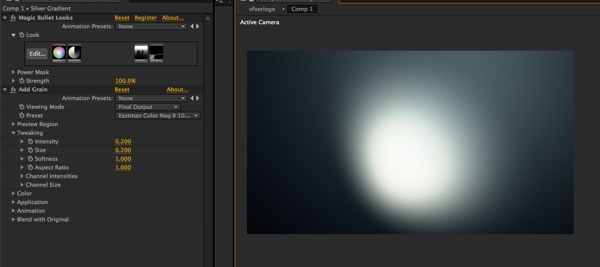
Create the background using a radial gradient, some grain to reduce banding and Magic Bullet Looks to add punch and tone.
Step 8
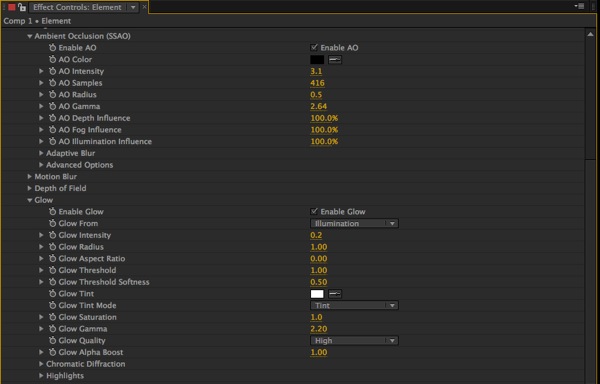
Add Ambient Occlusion in the Element 3D plugin to give faux shadows in the crevices for extra realism. I also activated the Glow section to give a subtle glow to the eyes and centre orb.
Step 9
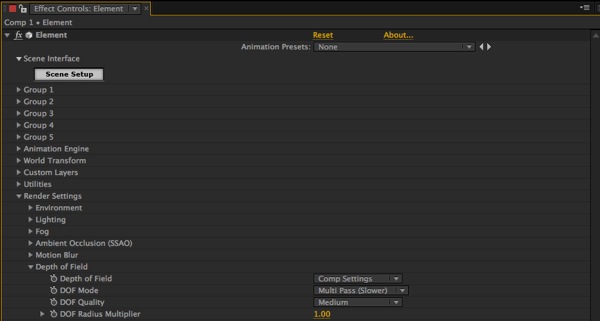
Add a camera and switch on depth of field. I used the Multi-Pass DOF preset in Element – it takes a lot longer to render compared to Pixel Blur, but gives a much better result.
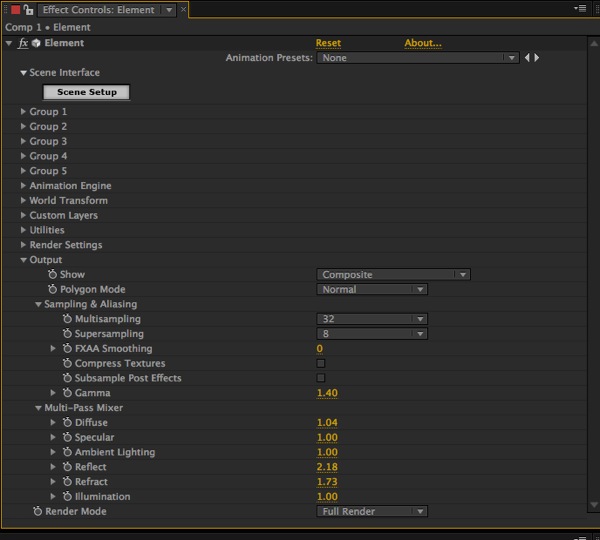
Step 10
Add an adjustment layer for the final colour grade. I used Red Giant’s Mojo to add contrast and punch to the final image. I also ensured that the anti-alias settings in Element 3D were turned up to max to ensure as cleaner lines as possible. I also tweaked the Gamma and Multi-Pass render settings to get the look just right.
Iron Man is ™ & © 2012 Marvel and Subs.